Wireless security systems have come a long way, but one thing hasn’t changed—eventually, you’ll need to replace a battery in a sensor. Whether you’re using your system to protect a downtown Charleston home, a Sullivan’s Island rental, or a James Island condo, this guide will walk you through how to replace the battery in your wireless window or door sensor in 2025.
Modern window/door sensors are efficient, but batteries typically need replacing every 3 to 5 years depending on the brand, system usage, and Charleston’s humidity levels. The good news? You can do it yourself and avoid unnecessary service fees.
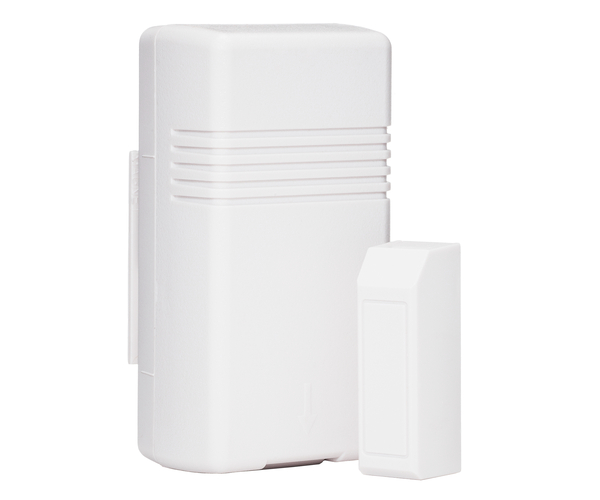
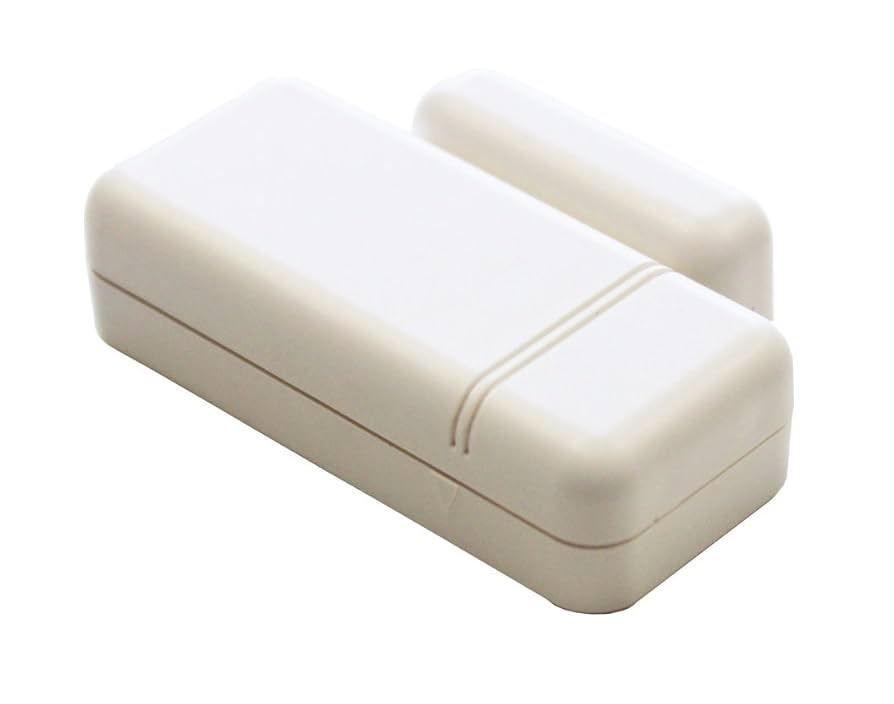
⚠️ Note: Always check your system model before proceeding. Charleston Security Systems installs and supports a range of devices including the Honeywell 5816, Resideo PROSiX, and Qolsys S-Line sensors. If you’re unsure what sensor you have, contact us or give us a call at (843) 789-9994.
Step 1: Identify the Sensor with Low Battery
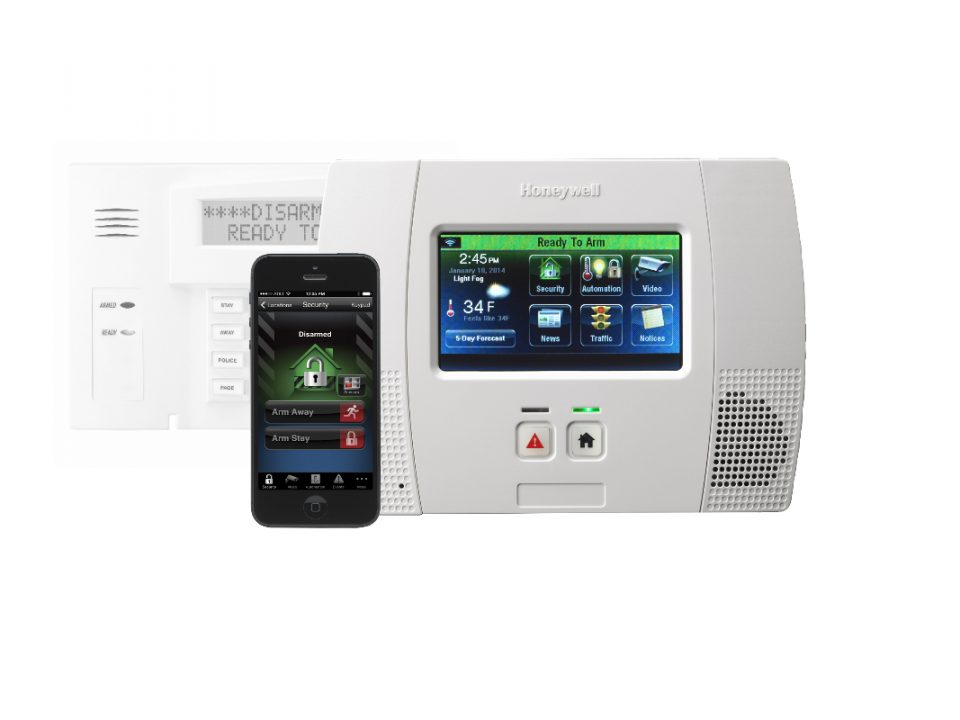
Your security system will alert you when a sensor battery is low. Depending on your setup:
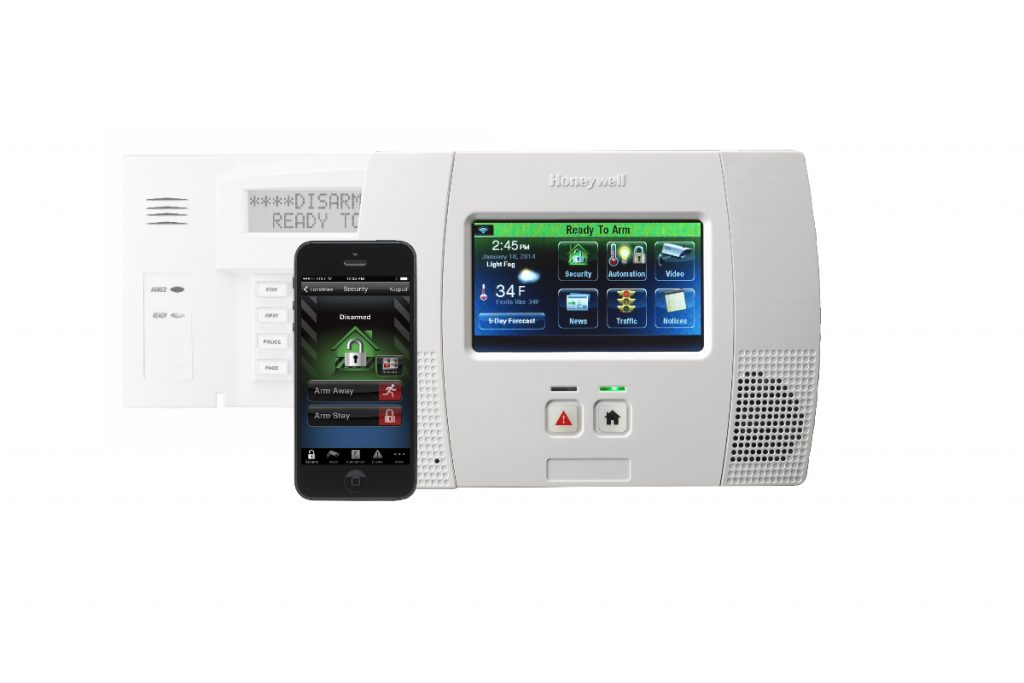
Keypad systems will show “Lo Bat” or “Low Battery” along with a zone number.
Mobile apps like Total Connect 2.0 or Alarm.com will send a push notification indicating which sensor needs attention.
Cross-reference the zone number or name in your system to figure out which window or door sensor needs a new battery.
Step 2: Put Your System in Test Mode
Before handling any sensor, put your system in TEST mode to avoid triggering a tamper alert or false alarm.
On Honeywell/Resideo keypads: Enter your user code + 5 (TEST).
On your app: Navigate to system settings and look for “Test Mode.”
Call your monitoring center to notify them of maintenance if unsure.
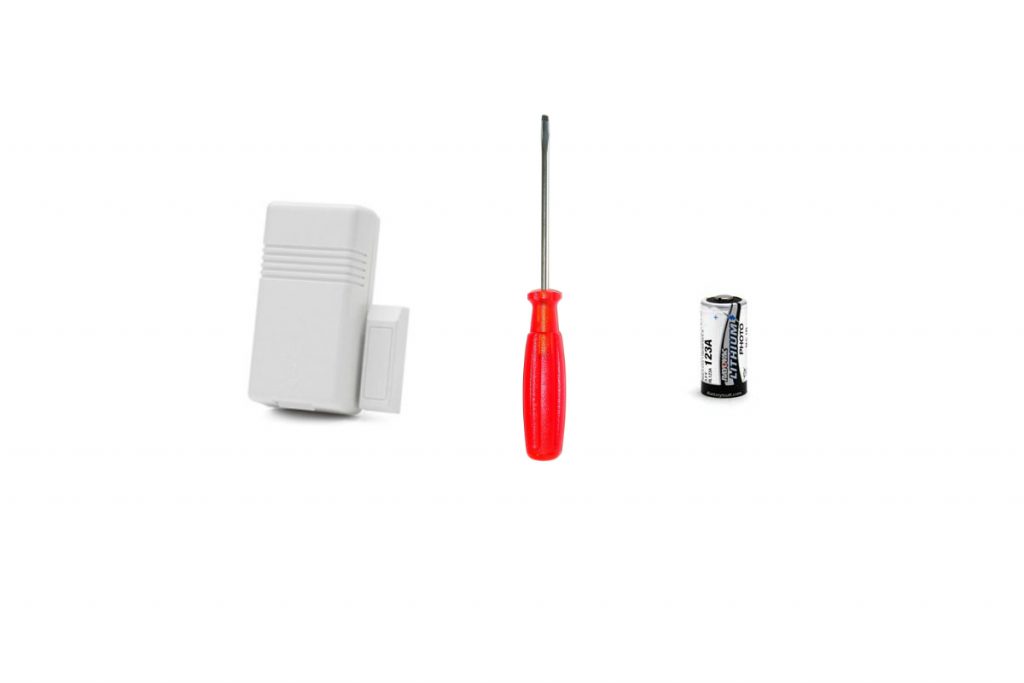
Step 3: Remove the Sensor Cover
Most wireless window/door sensors have a small notch on one end:
Use a small flathead screwdriver or plastic pry tool.
Gently insert and twist to pop off the front cover.
Honeywell 5816, PROSiX, and Qolsys IQ DW Mini sensors all use this mechanism.
Step 4: Replace the Battery
Battery types (2025 common models):
Honeywell 5816: CR123A 3V Lithium
Resideo PROSiX DW: CR2450 coin cell
Qolsys IQ DW Mini: CR2032 coin cell
Before removing the battery:
Note the polarity (+ and -).
Replace with the same battery type, ensuring proper orientation.
Wipe the battery contact area with a clean, dry cloth before inserting the new battery.
Snap the cover back in place until you hear or feel a click. The sensor should now be sealed and back in its mounting bracket.
Step 6: Test the Sensor Activation
Open and close the window or door 3–4 times to ensure the sensor is active.
You should hear your panel beep each time.
If using a mobile app, you may see real-time activity logs.
If the sensor still shows “low battery,” check that the new battery is fresh and properly seated.
Step 7: Take the System Out of Test Mode
Keypad users: Enter your user code + 1 (OFF).
App users: Toggle out of test mode from the system dashboard.
Confirm the low battery warning has cleared.
Troubleshooting Tips
If your keypad still shows “low battery,” try rebooting the system via the panel or app.
Some newer sensors may require a magnet realignment after battery replacement—ensure the sensor and magnet line up cleanly when the window/door is closed.
Avoid mixing old and new batteries or using off-brand cells—only use trusted brands like Energizer, Panasonic, or Duracell.
Need Help?
Charleston Security Systems is happy to assist. Whether you need replacement sensors, updated batteries, or a full system check, reach out to our team.
Charleston Security Systems provides complete home and business security solutions including home security systems, access control systems, alarm monitoring services and video surveillance systems. Our security staff provides the highest level of personalized, affordable services in the industry.

